Creating a KYC flow and deploying it
What will be covered in this guide
In this guide, we will start a new project, create a KYC flow, customize its UI and translations, and deploy it to Netlify. Source code and deployed app also available.
Glossary
- Flow - A group of UI steps which collect the necessary information to verify the identity of a user, letting the user confirm the information, and ending in a verification step and a result.
- KYC - Know Your Customer
- KYB - Know Your Business
Pre-requisites
- Basic knowledge of HTML and TypeScript
- A code editor of your choice (VSCode, WebStorm, etc.)
- A browser (Chrome, Firefox, Safari, etc.)
- A package manager (pnpm, yarn, npm, etc.)
Setup
For the purpose of this guide we’ll be using a clean Vite + TypeScript template. Run the following command in your working directory to create a new project:
pnpm create vite ballerine-kyc-flow --template vanilla-tsnpm create vite ballerine-kyc-flow -- --template vanilla-tsyarn create vite ballerine-kyc-flow --template vanilla-tsOpen the new project in your code editor and cd into the directory if you haven’t already.
cd ballerine-kyc-flowNow, remove everything but main.ts and vite-env.d.ts from the src directory and empty out main.ts.
Installation
Make sure you run the following command in the root of the project we’ve created in the previous step.
pnpm install @ballerine/web-ui-sdk@1.3.19npm install @ballerine/web-ui-sdk@1.3.19yarn install @ballerine/web-ui-sdk@1.3.19Creating a KYC flow
Now that we’ve created a new project and installed the Ballerine SDK, we can start creating our KYC flow. Let’s start by going to index.html and then add a div with the id of kyc-container.
<!-- index.html -->
<!DOCTYPE html>
<html lang="en">
  <head>
    <meta charset="UTF-8" />
    <link rel="icon" type="image/svg+xml" href="/vite.svg" />
    <meta name="viewport" content="width=device-width, initial-scale=1.0" />
    <title>Ballerine KYC Flow</title>
  </head>
  <body>
    <!-- Element to pass into mount to contain the flow -->
    <div id="kyc-container"></div>
    <!-- flows.init and flows.mount -->
    <script type="module" src="/src/main.ts"></script>
  </body>
</html>
Next, we’ll go to src/main.ts, import flows from @ballerine/web-ui-sdk, create our flow, and mount it.
// src/main.ts
import { flows } from '@ballerine/web-ui-sdk';

flows
  .init({
    endUserInfo: {
      id: 'test',
    },
    uiConfig: {
      // Specify the steps you want to include in the flow.
      flows: {
        // Same name as the argument passed into mount.
        'my-kyc-flow': {
          steps: [
            {
              name: 'welcome',
              id: 'welcome',
            },
            // Let the user choose verification by passport, license, etc.
            {
              name: 'document-selection',
              id: 'document-selection',
              documentOptions: ['id_card'],
            },
            {
              name: 'document-photo',
              id: 'document-photo',
            },
            // Let the user confirm if the document photo is okay.
            {
              name: 'check-document',
              id: 'check-document',
            },
            {
              name: 'loading',
              id: 'loading',
            },
            {
              name: 'final',
              id: 'final',
            },
          ],
        },
      },
    },
  })
  .then(() => {
      // mount(flowName: string, elementId: string);
      // flowName matches the flow name specified in uiConfig.
      // elementId is the id of the element to mount the flow into, the id of the div we've added in index.html.
      flows.mount({
        flowName: 'my-kyc-flow',
        elementId: 'kyc-container',
        useModal: true,
      });
    });
Let’s run the dev script.
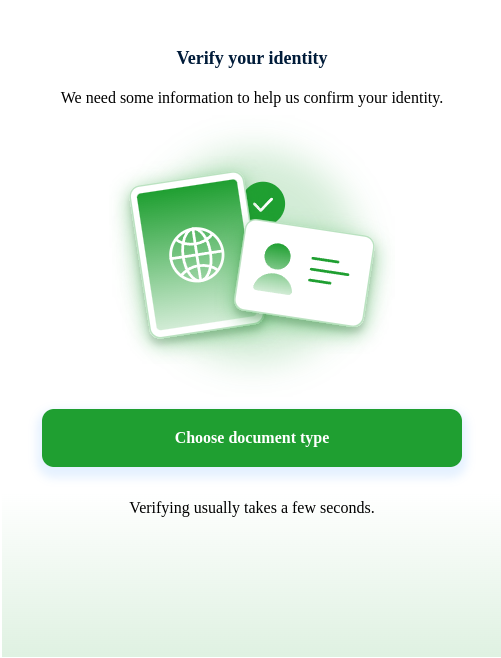
pnpm run devnpm run devyarn run devNow if we navigate to http://127.0.0.1:5173/ in the browser we should see the following:

Customizing the UI
Great! Now that we’ve created our flow, let’s start personalizing it. uiConfig also exposes properties to change things like colors and fonts. Back in src/main.ts let’s add the following.
// src/main.ts
import { flows } from '@ballerine/web-ui-sdk';

flows
  .init({
    endUserInfo: {
      id: 'test',
    },
    uiConfig: {
      // Change the color and font of the flow.
      general: {
        colors: {
          primary: '#1F9F31',
        },
        fonts: {
          name: 'Roboto',
          link: 'https://fonts.googleapis.com/css2?family=Roboto:wght@500;700&display=swap',
          weight: [500, 700],
        },
      },
      // Specify the steps you want to include in the flow.
      flows: {
        // Same name as the argument passed into mount.
        'my-kyc-flow': {
          steps: [
            {
              name: 'welcome',
              id: 'welcome',
            },
            // Let the user choose verification by passport, license, etc.
            {
              name: 'document-selection',
              id: 'document-selection',
              documentOptions: ['id_card'],
            },
            {
              name: 'document-photo',
              id: 'document-photo',
            },
            // Let the user confirm if the document photo is okay.
            {
              name: 'check-document',
              id: 'check-document',
            },
            {
              name: 'loading',
              id: 'loading',
            },
            {
              name: 'final',
              id: 'final',
            },
          ],
        },
      },
    },
  })
  .then(() => {
    // mount(flowName: string, elementId: string);
    // flowName matches the flow name specified in uiConfig.
    // elementId is the id of the element to mount the flow into, the id of the div we've added in index.html.
    flows.mount({
        flowName: 'my-kyc-flow',
        elementId: 'kyc-container',
        useModal: true,
    }).then();
  });
Let’s see our changes in the browser!
Adding a translation
Now, what would we do if our product is used globally or English is not our own native language? For that we can specify overrides on a per flow step basis for different locales. Let’s add a translation for the welcome step.
// src/main.ts
import { flows } from '@ballerine/web-ui-sdk';
flows
.init({
// Add translations.
translations: {
overrides: {
// Can be any locale as long as it is matched in endUserInfo.language below.
fr: {
// Translations for the welcome step.
welcome: {
title: 'Vérifiez Votre Identité',
button: 'Choisissez le type de document',
description:
'Nous avons besoin de certaines informations pour nous aider à confirmer votre identité.',
tip: 'La vérification prend généralement quelques secondes.',
},
},
},
},
endUserInfo: {
id: 'test',
// Specify the locale (should exist in the overrides).
language: 'fr',
},
uiConfig: {
// Change the color and font of the flow.
general: {
colors: {
primary: '#1F9F31',
},
fonts: {
name: 'Roboto',
link: 'https://fonts.googleapis.com/css2?family=Roboto:wght@500;700&display=swap',
weight: [500, 700],
},
},
// Specify the steps you want to include in the flow.
flows: {
// Same name as the argument passed into mount.
'my-kyc-flow': {
steps: [
{
name: 'welcome',
id: 'welcome',
},
// Let the user choose verification by passport, license, etc.
{
name: 'document-selection',
id: 'document-selection',
documentOptions: ['id_card'],
},
{
name: 'document-photo',
id: 'document-photo',
},
// Let the user confirm if the document photo is okay.
{
name: 'check-document',
id: 'check-document',
},
{
name: 'loading',
id: 'loading',
},
{
name: 'final',
id: 'final',
},
],
},
},
},
})
.then(() => {
// mount(flowName: string, elementId: string);
// flowName matches the flow name specified in uiConfig.
// elementId is the id of the element to mount the flow into, the id of the div we've added in index.html.
flows.mount({
flowName: 'my-kyc-flow',
elementId: 'kyc-container',
useModal: true,
}).then();
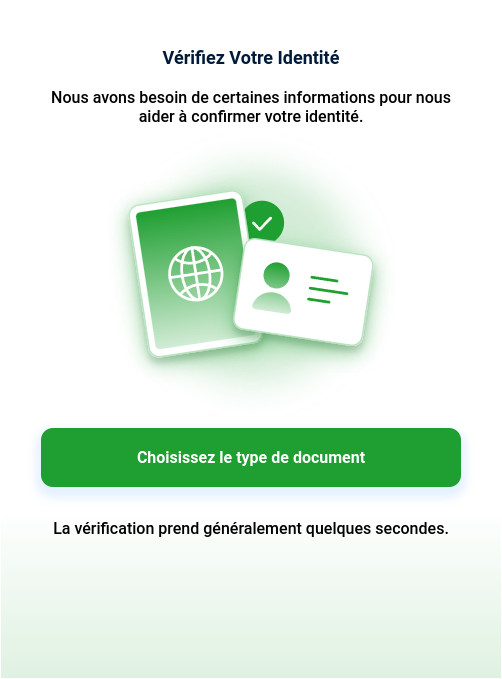
});Let’s try and see our changes in the browser!
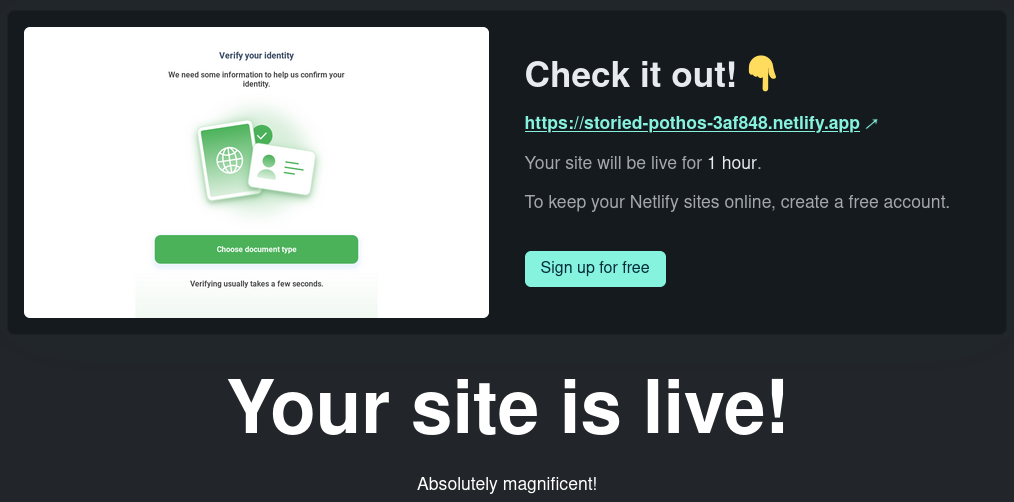
Deployment
Now that we’ve created our flow, let’s deploy it to the web. For the purpose of this guide we’ll do a manual deployment to Netlify. If you haven’t already, sign up and sign in to Netlify.
- Build the project - doing so will generate a
distdirectory at the root of the project.
pnpm run buildnpm run buildyarn run build- Compress the
distdirectory into a zip file. - Navigate to Netlify’s drop deployment.
- Upload the zip file by dragging and dropping it into the upload box, and wait for the upload to finish. If this step gives you issues, give
browse to uploada try, in my case uploading from Firefox instead of Chrome worked.
- Congratulations, we did it!
Where to go from here
- Flows documentation
- SDK source code
- Need help or got a question? Join our Discord!